
Getting a new geyser is a great upgrade, but installation plays a big role in how well it actually works. It is not just about plugging it in and turning it on. A few simple checks before installation can save you from future issues like slow heating, higher energy bills, or even water damage. Taking the time to plan a proper setup means your geyser will run safely, efficiently, and last longer.
1. Choose the Right Type of Geyser
Hot water purifiers offer the added convenience of instant warm water for drinking, making tea or coffee, preparing baby food, or quick meals. They also enhance safety by killing more germs and bacteria, making them especially suitable for homes with children, the elderly, or anyone who regularly needs warm water.
2. Check the Water Pressure Compatibility
High-rise buildings usually have strong water pressure. Check whether your chosen geyser is compatible with high-pressure systems, especially if you live above the 2nd floor or use pressure pumps.
Look for geysers with:
- Rated Pressure: 6 to 8 bars
- Pressure release valves or auto cut-off features
3. Ensure Proper Electrical Setup
Geysers require a stable and safe electrical connection. Before installation:
- Use a dedicated MCB (Miniature Circuit Breaker) to avoid overload
- Ensure the power socket is properly earthed. Use wires that can handle the geyser’s wattage (usually 2–3 kW)
4. Wall Strength and Placement
Geysers, especially storage ones, are heavy when filled with water. Before mounting:
- Ensure the wall is strong enough to support the full weight
- Use proper anchors and brackets for secure installation
- Maintain at least 6 feet height from the floor for optimal flow and pressure
Also, choose a location close to the point of use to minimize heat loss in pipes.
5. Safety Features Are a Must
Today’s geysers come equipped with multiple safety features. Ensure your model includes:
- Thermostat control (to regulate temperature)
- Thermal cut-out (to prevent overheating)
- Pressure release valve (to manage internal pressure)
- Auto shut-off function
Never ignore safety features; they’re designed to protect both your appliance and your family.
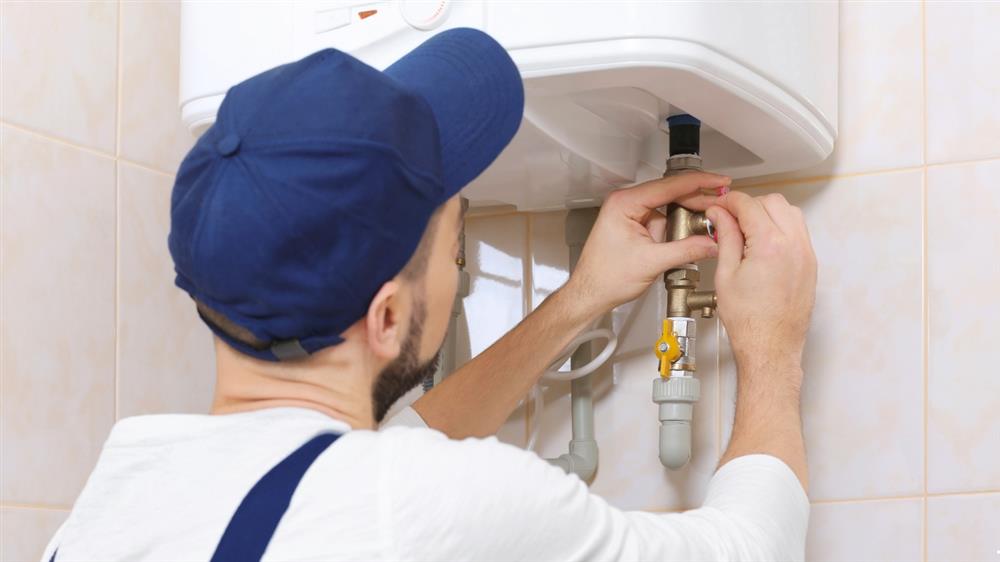
6. Professional Installation
While DIY might be tempting, geyser installation should always be handled by a professional technician. Improper installation can lead to water leaks, electric shocks, or even fire hazards. Also, most manufacturers offer a warranty only if installed by authorized service personnel.
7. Post-Installation Checks
After installation, make sure to:
- Test hot water flow and temperature
- Check for any leaks at joints or pipes
- Listen for unusual sounds (which could indicate air gaps or sediment)
Also, read the user manual and understand regular maintenance needs, such as descaling and annual servicing.
Conclusion
Proper installation is the foundation of a reliable and efficient geyser. By following this checklist, you can avoid common pitfalls that lead to poor performance, safety risks, and costly repairs. Taking the time to choose the right geyser, ensure compatibility, and prioritize safety will not only enhance your comfort but also extend the lifespan of your appliance. Always rely on professional installation and keep up with regular maintenance to enjoy consistent, hassle-free hot water for years to come.